
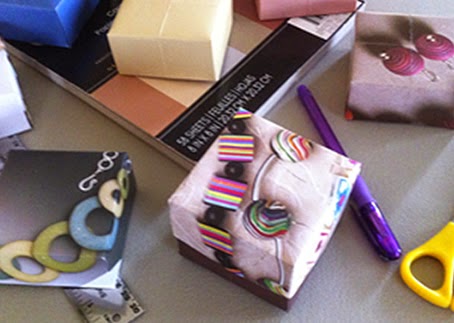
 Ever find yourself in need of a gift box for a present or to organize some jewelry pieces? Why not make one yourself.
 It's actually easier that you may think. This tutorial will walk you through making a simple box. Instructions for the top and bottom are identical.
No more hunting around for the right size box or the perfect coordinating colors. The choices are endless. For my bottoms, I use colored, textured cardstock. For the tops, I've used magazine pages, scrapbooking paper and gift wrap.
 Materials Needed
- 8"x 8" cardstock for bottom
- 8"x 8" scrapbook paper for top
- ruler or straight edge
- scissors
- pencil/pen
Instructions
1. Cut out a sheet of 8x8 inch paper. The paper can be any size but the length and height must be equal. The paper I use for the bottom is textured cardstock.
The bottom needs to be sturdy. Don't use very thin paper for the bottom.
2. Draw a line from corner to corner as seen in photo. Fold one corner towards the center of the page.

3. Fold the same side in half. Press edges down to form a nice folded crease. Open the corner you just double folded so the paper will lay flat.
4. Repeat step 3 on the remaining three corners. Lay paper flat after folding.

5. Now, you need to cut the paper in four places. Using the photo as a guide, cut the paper where indicated from the photo. Try to cut in the creases. Stop where the creases meet towards the middle as shown in the photo.

6. Take the two sides that were not cut and fold them towards the center. This will begin to form the bottom of the box.
7. Take the same two sides and fold again but this time fold them so they are pointing upwards. This step begins forming the sides of the box.

8. It's now time to close the sides of the box. Fold in the side corners. This will result in a "L" shape on both sides.
9. Take the flap that was cut out earlier in Step 5 and fold it down inside and into the center of the box. Repeat on the other side.

You have just created the bottom of a box. Now, select a colorful piece of paper and repeat all steps to create the top for your box. Once completed, just fit the top of the box over the bottom.
The first box you make may seem a little uncomfortable. After constructing a few, this will quickly pass.
I now crank out boxes by the dozen in a relatively short amount of time. This comes in handy during craft fairs, during the holidays or just when I really need a box.
Hope you found this useful. Coffee Break over.
Dee.
No comments:
Post a Comment